

Install with Confidence
Good installation starts with careful preparation, the correct fixings and accurate positioning. Use this guide to understand the key steps before fitting your SG Wrought Iron products.
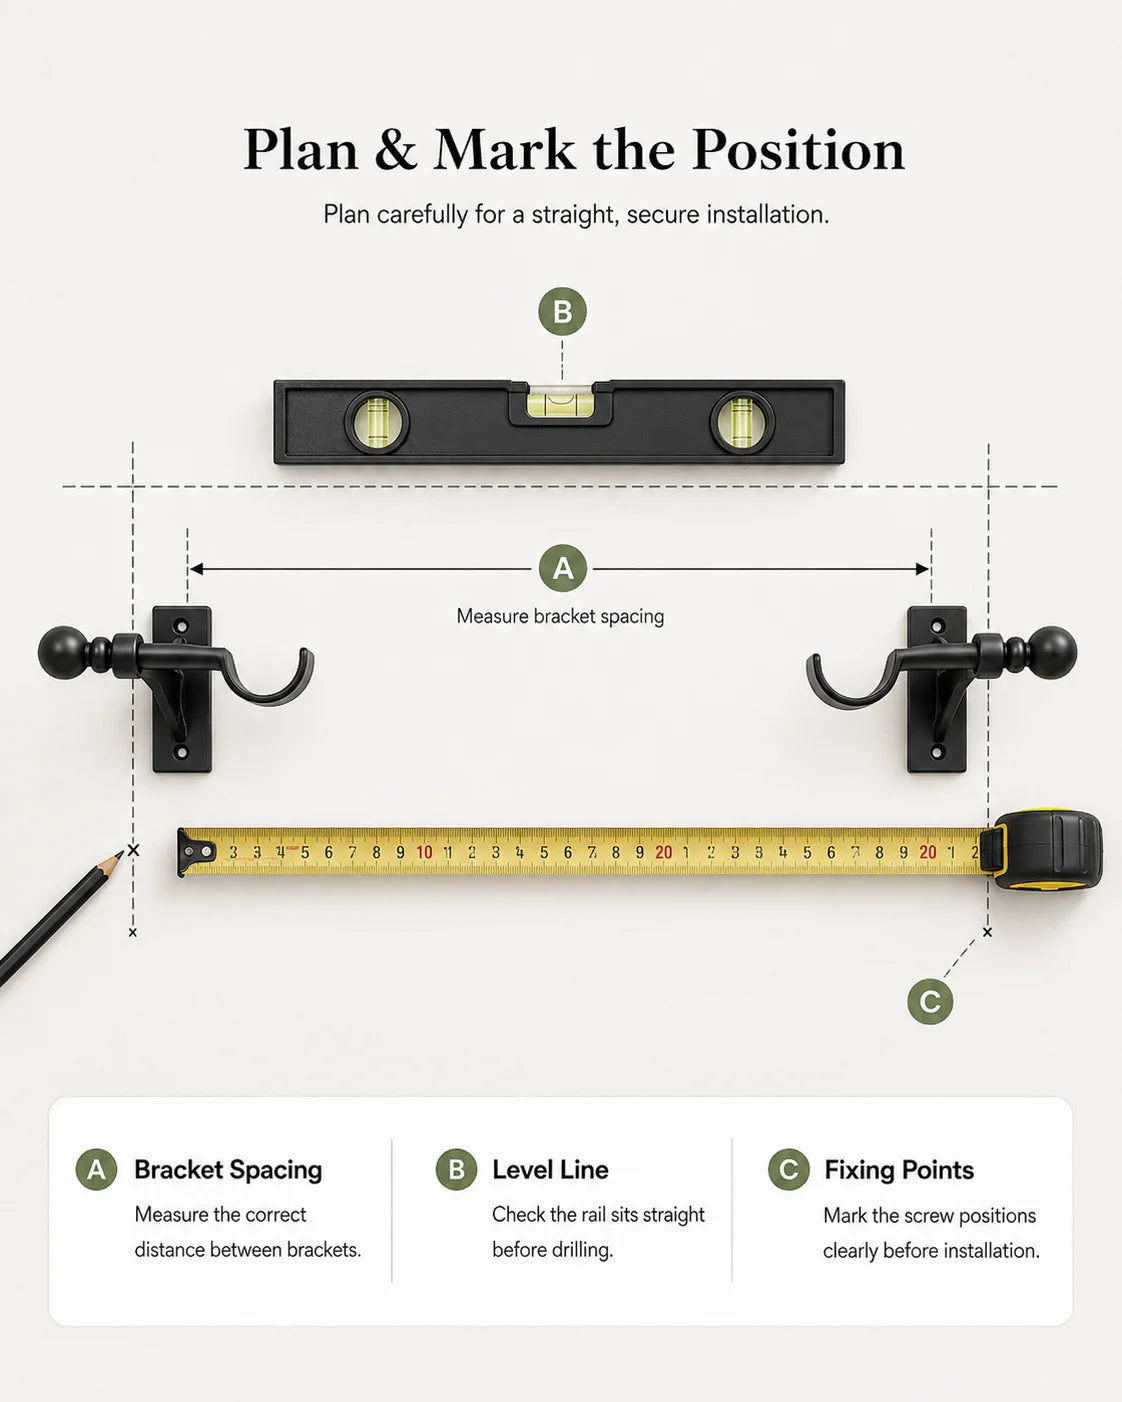
Position Everything Before You Fix
Before drilling or fixing anything in place, position the product carefully and check that it sits correctly within the available space. Take time to confirm the height, alignment and overall placement so the finished installation looks balanced and works as intended.

Bracket Spacing
Measure the correct distance between brackets.

Level Line
Check the rail sits straight before drilling.

Fixing Points
Mark the screw positions clearly before installation.
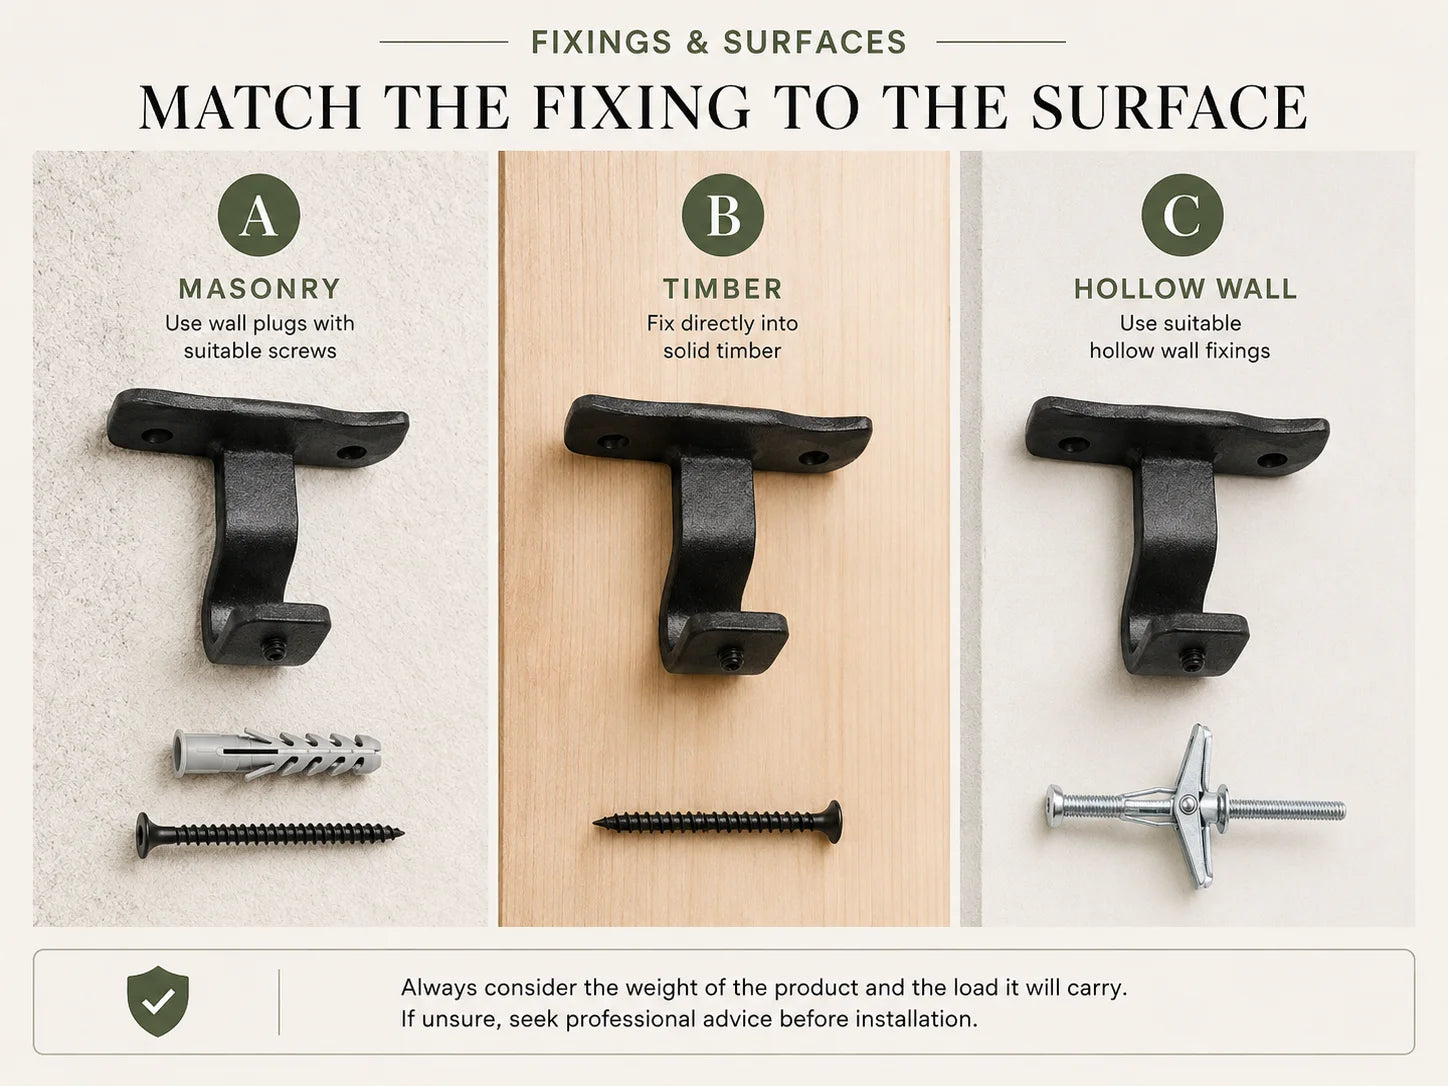
Match the Fixing to the Surface
The correct fixing method depends on both the product and the surface it is being installed onto. Masonry, timber and hollow walls can require different fixings, so it is important to identify the mounting surface before drilling.
Masonry
Wall plug + suitable screw
Timber
Direct fixing into solid timber
Hollow Wall
Suitable hollow-wall fixing
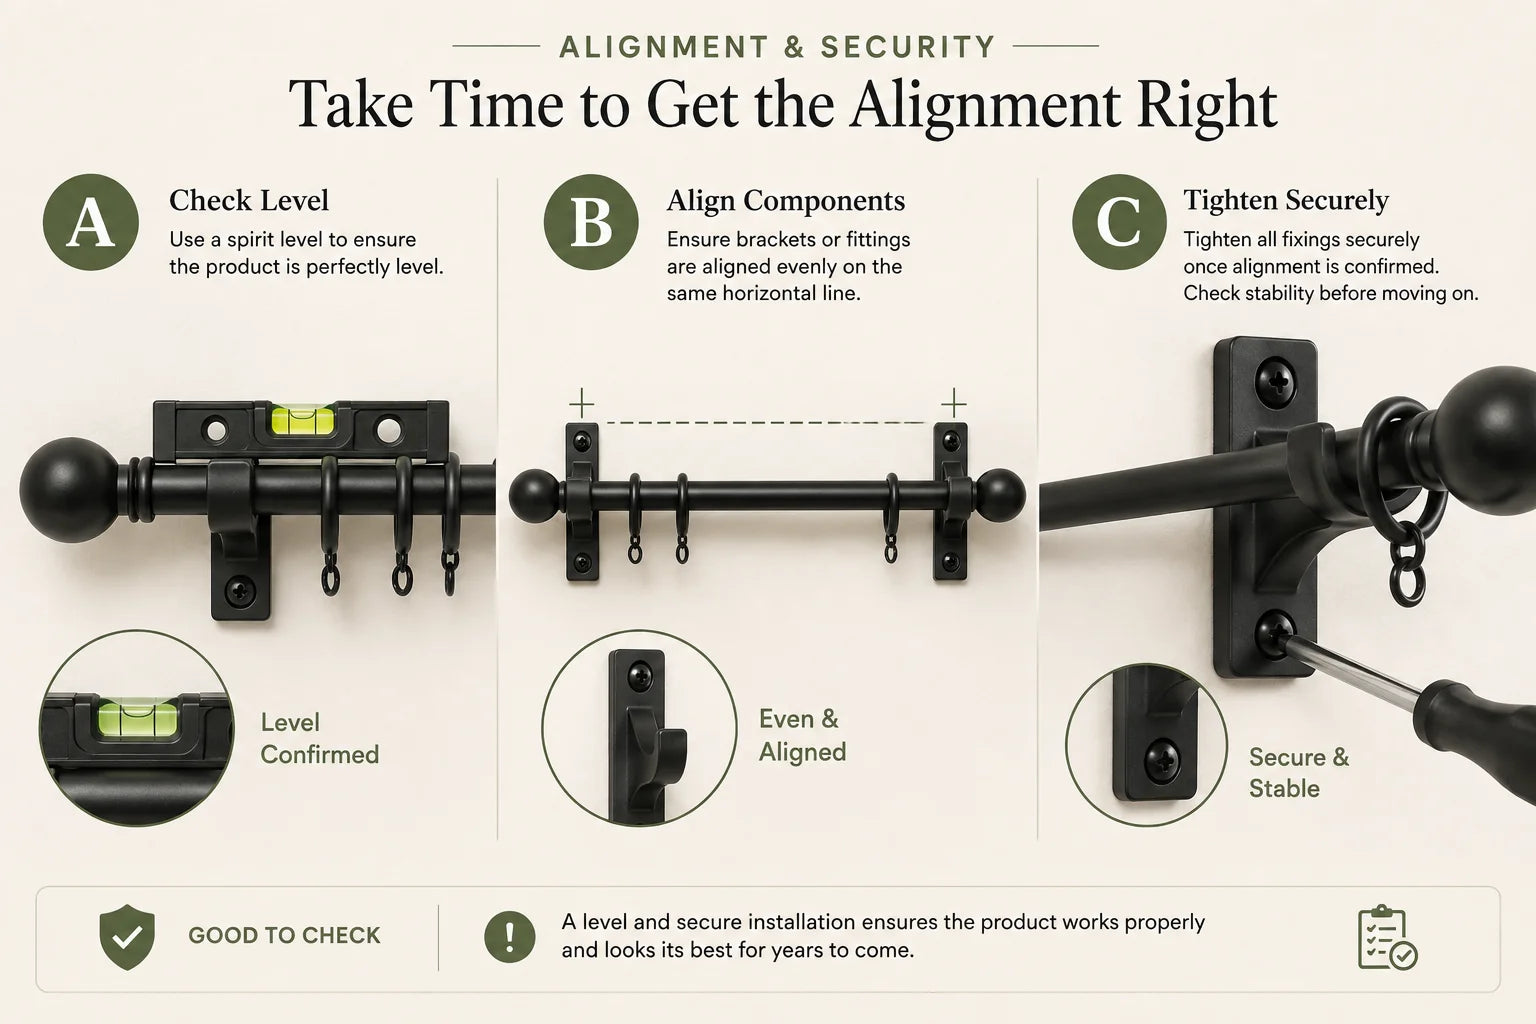
Take Time to Get the Alignment Right
Once the fixing points are prepared, position the brackets, rails or fittings carefully and check that everything sits level and evenly aligned. Use a spirit level where appropriate and make small adjustments before fully tightening the fixings.
Check Level
Spirit level placed across the installed product.
Align Components
Two brackets or fittings positioned evenly on the same line.
Tighten Securely
Screwdriver or Allen key securing the final fixing.
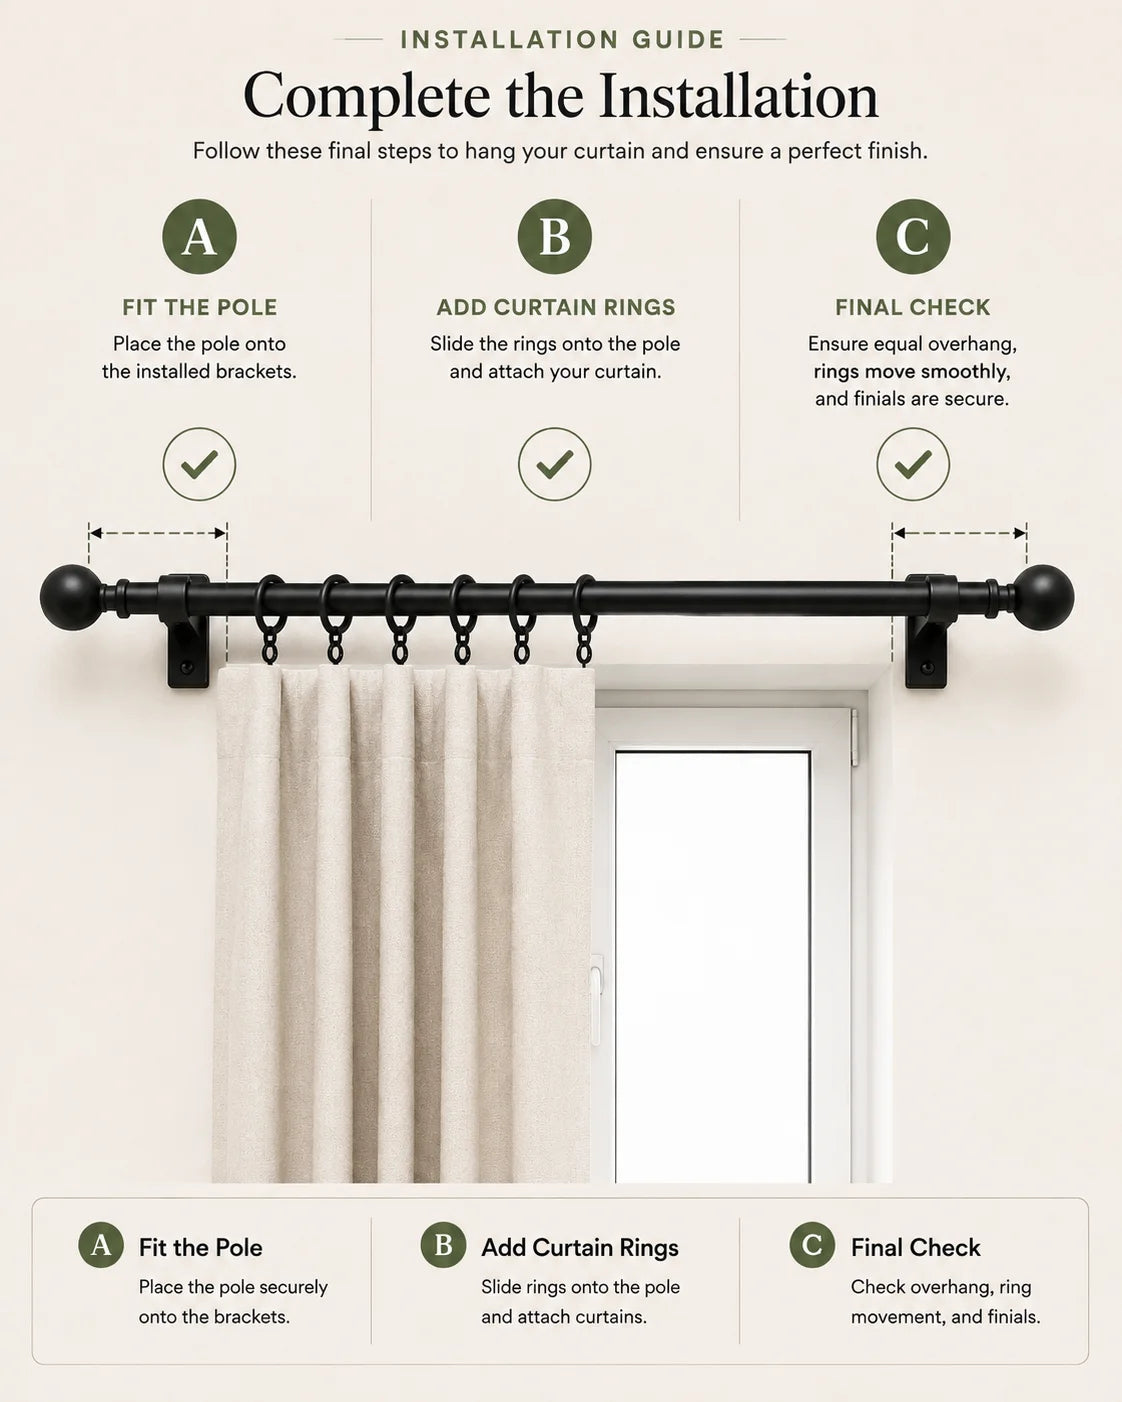
Check Everything Before Use
Once installation is complete, take a few minutes to inspect every fixing, bracket and component before putting the product into use. Check that everything is seated correctly, aligned as intended and firmly secured with no loose movement.
Fix the Pole
Secure the pole firmly and keep it level.
Add Curtain Rings
Slide the rings evenly onto the pole
Final Check
Check alignment, fixings and overall stability.


